How to Set Up Dual Monitors: Complete Guide for Laptop, MacBook Pro & RDP Users
Introduction: Unlock Your Multi-Screen Potential
Assembling your dual monitors can transform your productivity, but the process can be different depending on your setup. Whether you're connecting dual monitors with a laptop, configuring dual monitors for MacBook Pro, using dual monitors with RDP (Remote Desktop Protocol), or just learning dual monitors how to connect them, this guide provides clear, step-by-step instructions for every scenario.
Let's eliminate the confusion and get your multi-display workspace running efficiently.
Dual Monitors with Laptop
Why Laptop Users Need Dual Monitors
Connecting dual monitors with laptop creates a powerful hybrid setup, combining portability with desktop-level screen real estate. Perfect for remote workers, students, or anyone who needs more space than a single laptop screen provides.

3 Basic Methods to Connect Dual Monitors to Your Laptop
Method 1: Using Laptop Ports (Most Common)
-
Check your laptop's video outputs: Look for HDMI, DisplayPort, USB-C/Thunderbolt, or mini-DisplayPort
-
Connect first monitor: Plug into available port
-
Connect second monitor: You may need:
-
A second video output (some gaming/business laptops have two)
-
A USB-C hub with multiple video outputs
-
A docking station with dual monitor support
-
Method 2: A very Simple Solution with Docking Station
A quality docking station solves the "dual monitors with laptop" challenge beautifully:
-
Single-cable connection (usually USB-C)
-
Powers your laptop simultaneously
-
Adds extra ports (USB, Ethernet, audio)
-
Recommended: Look for docks explicitly supporting "dual monitor laptop setup"
Method 3: Using Display Link Technology (For Limited Ports)
If your laptop has only one video output, Display Link adapters use USB to add monitor support:
-
Connect via USB-A or USB-C
-
Software-based but works well for office tasks
-
Not ideal for fast-motion gaming/video
Troubleshooting Laptop Dual Monitor Issues
-
Monitor not detected? Update graphics drivers
-
Limited to mirroring? Check GPU capabilities; some integrated graphics only support 2 displays total (laptop screen + 1 external)
-
Different resolutions? Set each monitor to its native resolution in Display Settings
Dual Monitors for MacBook Pro – Apple Ecosystem Setup

Modern MacBook Pro Connectivity
Recent dual monitors for MacBook Pro setups are simpler than ever, thanks to Thunderbolt/USB4. Here's how to set up dual monitors with MacBook Pro:
For M-Series MacBook Pro (M1, M2, M3)
-
Check your model's limits: Base M1/M2 chips support one external monitor. M1 Pro/Max and M2/M3 Pro/Max support multiple monitors (2-4+)
-
Connection options:
-
Direct: Use Thunderbolt 4 ports (two monitors possible with compatible docks)
-
Via Dock: CalDigit, OWC, or Apple's own solutions
-
Daisy-chaining: If monitors support DisplayPort 1.4 MST
-
For Intel MacBook Pro
More flexible native support but requires proper adapters:
-
Use combination of Thunderbolt 3 and HDMI ports
-
Consider multi-port adapters
Optimal Dual Monitors for MacBook Pro Setup
-
Display Settings: System Settings > Displays
-
Arrangement: Drag displays to match physical layout
-
Scaling: Set matching scaling for consistent text size
-
True Tone/Night Shift: Enable/disable per monitor preference
Recommended Hardware for MacBook Pro Dual Monitors
-
Docks: CalDigit TS4, OWC Thunderbolt Dock
-
Adapters: Apple USB-C Digital AV Multiport Adapter
-
Monitors: 4K/5K displays for optimal Retina-like scaling
Dual Monitors RDP (Remote Desktop Multi-Screen Setup)
Why Dual Monitors RDP Matters
Using dual monitors with RDP allows you to extend your remote desktop session across two screens, mirroring a true multi-monitor workspace. Essential for remote IT work, financial trading, or accessing powerful office PCs from home.
Step-by-Step: Configure Dual Monitors RDP in Windows
Windows Remote Desktop Connection Setup:
-
Open Remote Desktop Connection (mstsc.exe)
-
Click "Show Options" before connecting
-
Navigate to the Display tab
-
Set "Use all my monitors for the remote session"
-
Adjust resolution to match your local monitors
-
Connect as usual
Important RDP Dual Monitor Notes:
-
Windows 10/11 Pro required on host PC for multiple monitor support
-
All monitors must be same resolution for best experience in some configurations
-
Bandwidth: Dual monitors increase data transfer; ensure stable connection
-
Graphics: Some GPU-accelerated content may not render perfectly
Advanced Dual Monitors RDP Configuration
-
Monitor arrangement: Match remote session layout to physical setup
-
Local resources: Redirect sound, printers, clipboard for seamless workflow
-
Full-screen optimization: Use full-screen mode for most authentic experience
Troubleshooting RDP Dual Monitor Issues
-
Black screens on one monitor? Try updating both host and client RDP clients
-
Can't select multiple monitors? Ensure you're using Windows Professional/Enterprise
-
Poor performance? Reduce colour depth in Experience tab to 16-bit
Dual Monitors How To – A complete Setup Guide
Dual Monitors How To: Physical Connection Basics
-
Check graphics capability: Ensure your computer supports multiple displays
-
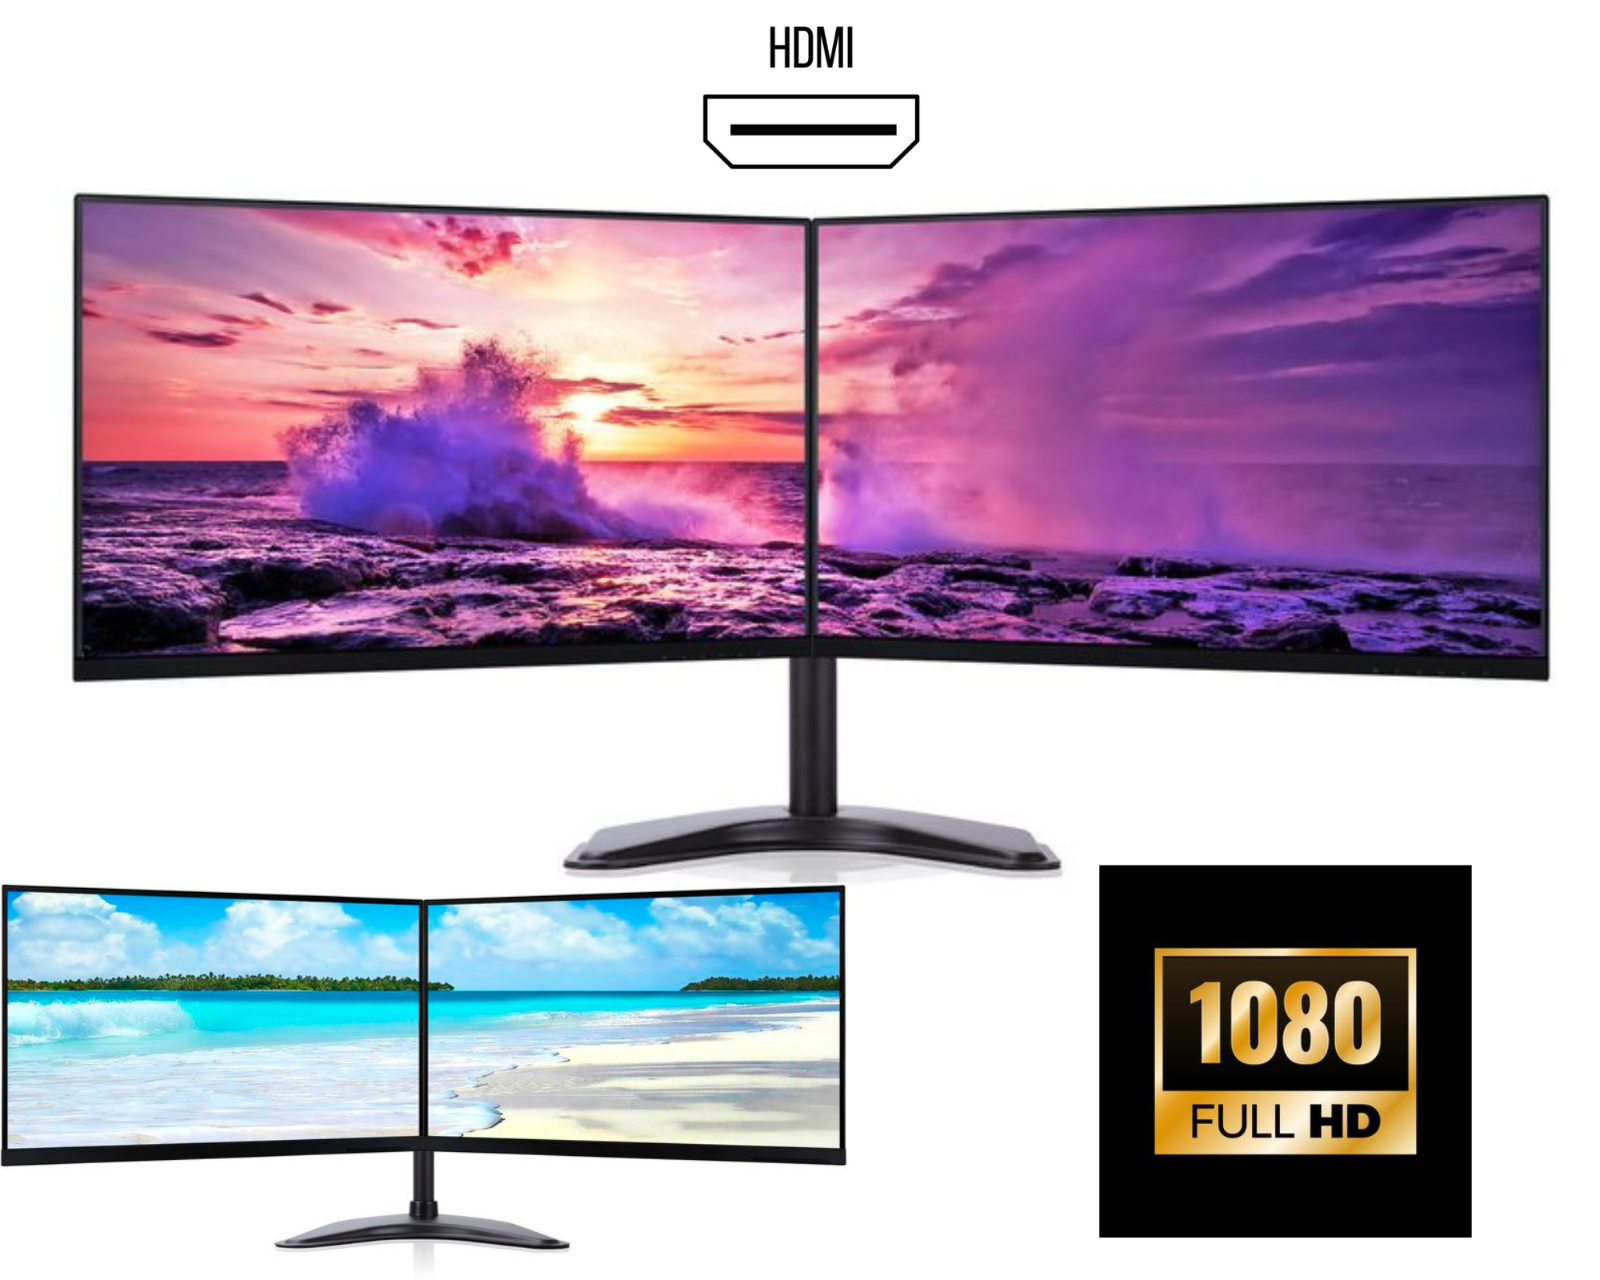
Gather cables: HDMI, DisplayPort, DVI, or VGA (DisplayPort recommended for daisy-chaining)
-
Power everything down before connecting
-
Connect monitors to computer
-
Power on computer after all connections are secure
Dual Monitors How To Configure in Windows 11/10
-
Right-click desktop > Display settings
-
Identify displays: Click "Identify" to see numbers on each screen
-
Arrange displays: Drag display icons to match physical arrangement
-
Select each display to set:
-
Orientation (landscape/portrait)
-
Scale and layout (resolution, scaling percentage)
-
Multiple displays option (Extend, Duplicate, Second screen only)
-
Dual Monitors How To Configure in macOS
-
Apple menu > System Settings > Displays
-
Click "Gather Windows" if displays aren't showing
-
Arrangement: Drag white menu bar to desired primary display
-
Configure each display individually for resolution and brightness
Essential Dual Monitors How To Tips
-
Match refresh rates for smooth cursor movement between screens
-
Use display arms for optimal positioning and ergonomics
-
Calibrate colors if doing color-sensitive work
-
Set taskbar preferences (Windows: Settings > Personalization > Taskbar)
FAQs: Dual Monitors Setup Solutions
Q: Can I use dual monitors with any laptop?
A: Most modern laptops support at least one external monitor. For dual external monitors plus the laptop screen, check specific model capabilities or use Display Link technology.
Q: What's the best dual monitors for MacBook Pro setup?
A: For Apple Silicon Macs, ensure your chip supports multiple displays (Pro/Max chips do). Use Thunderbolt 4 docks for simplest dual monitor MacBook Pro configuration.
Q: Why won't my dual monitors RDP session use both screens?
A: Ensure you've selected "Use all my monitors" in RDP display settings before connecting, and that your host PC runs Windows Pro/Enterprise.
Product Recommendations for Each Setup
For Dual Monitors with Laptop:
-
Budget: USB-C hubs with dual HDMI outputs
-
Professional: Thunderbolt docking stations
-
Gaming: Laptop cooling pads with built-in ports
For Dual Monitors for MacBook Pro:
-
Apple Ecosystem: Thunderbolt 4 docks
-
Mixed Use: USB-C monitors with built-in hubs
-
Premium: 5K displays matching MacBook Retina quality
For Dual Monitors RDP Users:
-
Home Office: Matching monitor pairs for consistent remote experience
-
Corporate: Monitors with KVM switches for multiple computer access
-
Mobile: Portable monitors for RDP on the go
General Dual Monitors How To Essentials:
-
Quality DisplayPort cables
-
Monitor arms with VESA mounts
-
Cable management systems
-
Blue light filtering screen protectors
Conclusion: Start Your Multi-Screen Journey Today
Whether you're setting up dual monitors with laptop, configuring dual monitors for MacBook Pro, implementing dual monitors RDP for work, or just learning dual monitors how to basics, the productivity benefits are undeniable.
Each setup has its nuances, but with the right equipment and these step-by-step guides, you can transform any workspace into a multi-screen powerhouse. Remember:
-
Check compatibility before purchasing
-
Invest in proper cables and adapters
-
Configure software settings carefully
-
Optimize for ergonomics
Ready to expand your digital workspace? Explore our curated monitor pairs and docking solutions designed specifically for these setups at Digital IT Store. Our experts can help you choose the perfect configuration for your needs, contact us for personalized advice!
Need help with your specific dual monitor setup?
Visit our website or schedule a virtual consultation to get personalized guidance on connecting dual monitors with your exact laptop, MacBook Pro, or RDP configuration.